React使用Web3modal/wagmi链接钱包(WalletConnect)!
- dlnuchunge
- 发布于 2023-11-10 17:50
- 阅读 7713
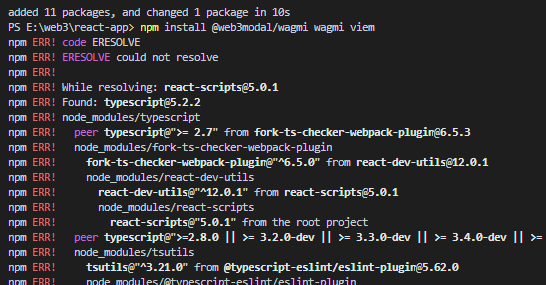
最开始,我是直接使用的create-react-app创建项目的npxcreate-react-appapp-name--templatetypescript但是当我安装wagmi包时,就各种乱七八糟的错,不知道怎么解决所以,后来我使用了UmiMax(React+Umi
最开始,我是直接使用的 create-react-app 创建项目的
npx create-react-app app-name --template typescript
但是当我安装wagmi包时,就各种乱七八糟的错,不知道怎么解决

所以,后来我使用了Umi Max(React + UmiJS + Antd)
不仅能正常使用wagmi,而且还能使用Antd的布局,对应Web前端新手的我来说,很nice
首先,输入指令来创建umi项目:
npx create-umi@latest
然后,选择Ant Design Pro

再输入指令安装wagmi包
npm install @web3modal/wagmi wagmi viem
然后复制粘贴下面代码就可以使用了。
import {
  createWeb3Modal,
  defaultWagmiConfig,
  useWeb3Modal,
  useWeb3ModalEvents,
  useWeb3ModalState,
  useWeb3ModalTheme
} from '@web3modal/wagmi/react'
import { WagmiConfig } from 'wagmi'
import { arbitrum, mainnet } from 'wagmi/chains'

// @ts-expect-error 1. Get projectId
const projectId = import.meta.env.VITE_PROJECT_ID
if (!projectId) {
  throw new Error('VITE_PROJECT_ID is not set')
}

// 2. Create wagmiConfig
const chains = [mainnet, arbitrum]
const wagmiConfig = defaultWagmiConfig({
  chains,
  projectId,
  metadata: {
    name: 'Web3Modal React Example'
  }
})

// 3. Create modal
createWeb3Modal({
  wagmiConfig,
  projectId,
  chains,
  themeMode: 'light',
  themeVariables: {
    '--w3m-color-mix': '#00DCFF',
    '--w3m-color-mix-strength': 20
  }
})

export default function App() {
  // 4. Use modal hook
  const modal = useWeb3Modal()
  const state = useWeb3ModalState()
  const { themeMode, themeVariables, setThemeMode } = useWeb3ModalTheme()
  const events = useWeb3ModalEvents()

  return (
    <WagmiConfig config={wagmiConfig}>
      <w3m-button />
      <w3m-network-button />
      <w3m-connect-button />
      <w3m-account-button />

      <button onClick={() => modal.open()}>Connect Wallet</button>
      <button onClick={() => modal.open({ view: 'Networks' })}>Choose Network</button>
      <button onClick={() => setThemeMode(themeMode === 'dark' ? 'light' : 'dark')}>
        Toggle Theme Mode
      </button>
      <pre>{JSON.stringify(state, null, 2)}</pre>
      <pre>{JSON.stringify({ themeMode, themeVariables }, null, 2)}</pre>
      <pre>{JSON.stringify(events, null, 2)}</pre>
    </WagmiConfig>
  )
}
这里我们简单介绍一下代码: WalletConnect Web3Modal React官方文档
1、使用web3modal/wagmi ,需要有一个projectId。马上去注册 2、需要创建一个 wagmiConfig 配置,包括支持哪些链。 3、需要使用createWeb3Modal创建modal; 有了上面3不,代码就能正常使用web3modal/wagmi了。 4、const { open, close } = useWeb3Modal() useWeb3Modal钩子包含 open 和close 两个方法,用于打开/关闭链接钱包界面:

5、const { open, selectedNetworkId时当前的网络ID; } = useWeb3ModalState() open是boolean类型,当显示链接钱包界面,或者切换网络界面时为true,反之为false; selectedNetworkId时当前选择的网络ID;
6、默认组件
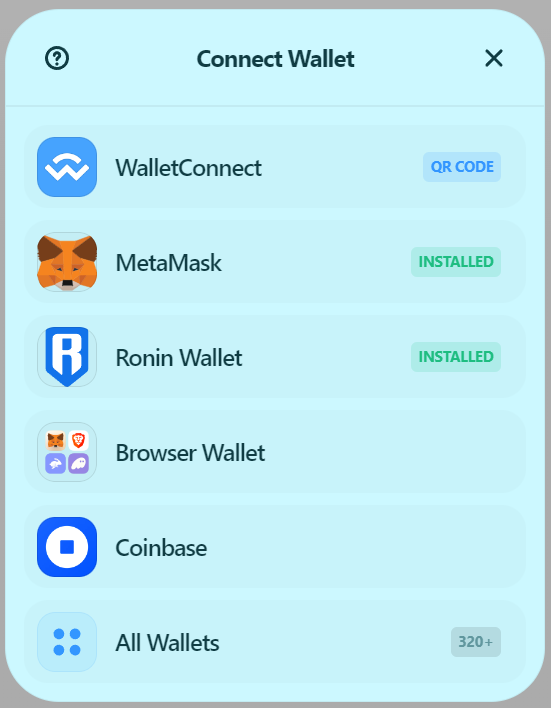
w3m-button (打开链接钱包界面)
w3m-network-button (打开切换网络界面)
w3m-connect-button (打开链接钱包界面)
w3m-account-button (打开链接钱包界面)
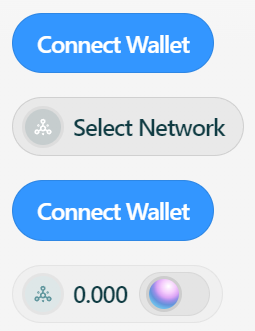
链接钱包前:

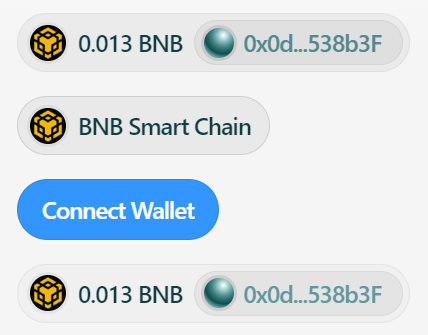
链接钱包后:

- 从以太坊和索拉纳看 MEV 演进、交易排序的综合博弈 433 浏览
- 区块链钱包入门 597 浏览
- DApp生存法则:来自Solana租金回收市场的启示 325 浏览
- 区块威胁 - 2025年第49周 739 浏览
- 比特币是如何运行的 2312 浏览
- 完美十分!React2Shell 993 浏览
- 达世币核心版本 v19.3.0 574 浏览
- 第五章:钱包 2167 浏览
- 胖钱包理论 337 浏览
- Kohaku 安全钱包 - 路线图 1543 浏览
- 开发环境 279 浏览
- OnchainTestKit:链上应用端到端测试框架 1620 浏览

