Hardhat 入门(一)
- Antony
- 发布于 2024-07-29 17:32
- 阅读 3244
新手入门hardhat,体验hardhat初始项目完整过程
写在前面
笔者目前正在学习智能合约开发,正好将日常积累的整理出来,以供后续朋友一起进步、学习,欢迎一起探讨。
在开始安装 hardhat 之前,需要有 node、yarn 环境,笔者使用的 nvm 工具管理多个 node 版本。
初始化项目
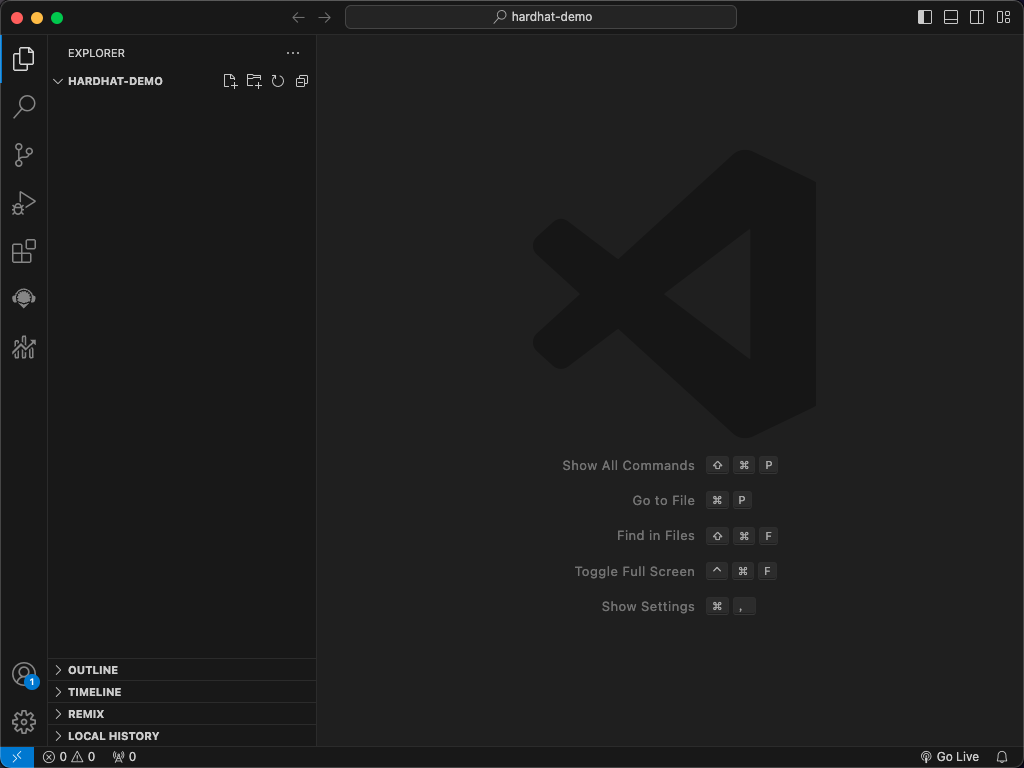
1、新建文件夹“hardhat-demo”,并使用 vs code 打开,如图:
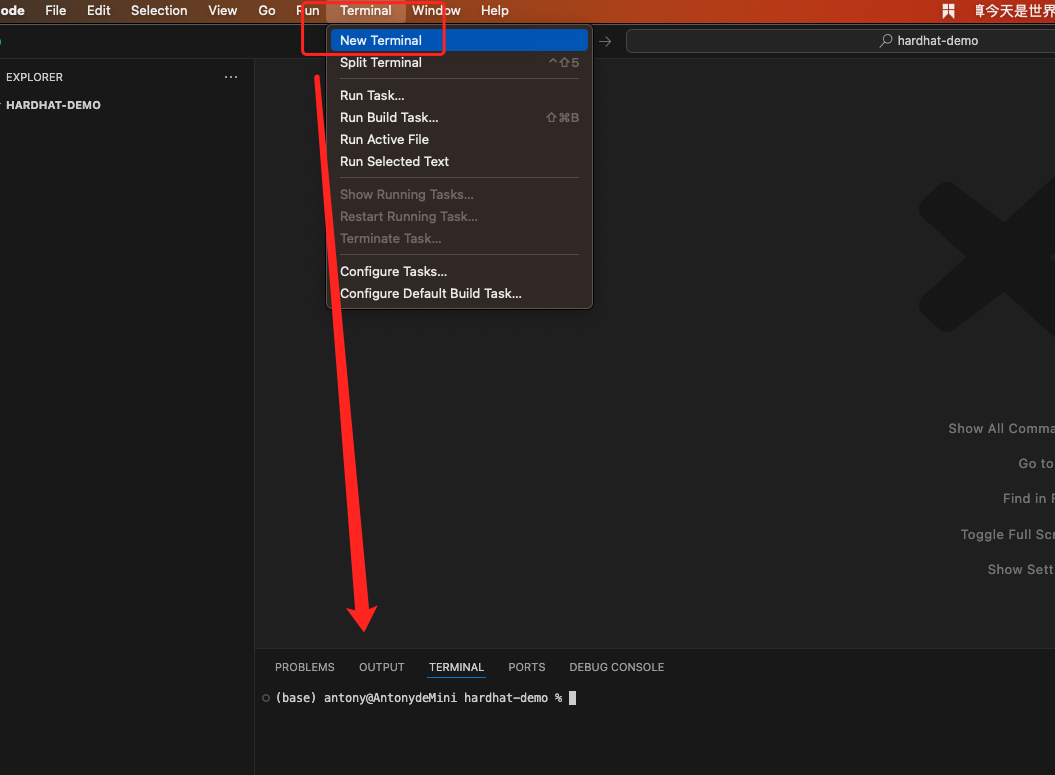
2、在 vs code 中新建终端,或如图操作 PS:请检查当前终端所在目录,是否在上述创建的文件夹中。
3、检查 node 版本是否为 v20 以上
(base) antony@AntonydeMini hardhat-demo % nvm list
-> v16.14.2
v18.16.0
v20.11.1
system
default -> 16.14.2 (-> v16.14.2)
iojs -> N/A (default)
unstable -> N/A (default)
node -> stable (-> v20.11.1) (default)
stable -> 20.11 (-> v20.11.1) (default)
nvmlts/* -> lts/iron (-> v20.11.1)
lts/argon -> v4.9.1 (-> N/A)
lts/boron -> v6.17.1 (-> N/A)
lts/carbon -> v8.17.0 (-> N/A)
lts/dubnium -> v10.24.1 (-> N/A)
lts/erbium -> v12.22.12 (-> N/A)
lts/fermium -> v14.21.3 (-> N/A)
lts/gallium -> v16.20.2 (-> N/A)
lts/hydrogen -> v18.19.1 (-> N/A)
lts/iron -> v20.11.1
(base) antony@AntonydeMini hardhat-demo % nvm use v20.11.1
Now using node v20.11.1 (npm v10.2.4)
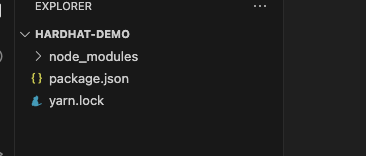
(base) antony@AntonydeMini hardhat-demo %4、使用 yarn 命令,添加 hardhat 依赖到工程中。
(base) antony@AntonydeMini hardhat-demo % yarn add --dev hardhat完成后项目文件夹中会多出几个文件,如图所示:
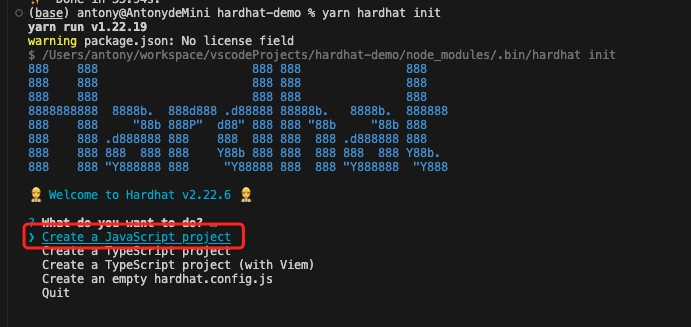
5、初始化 hardhat 项目
(base) antony@AntonydeMini hardhat-demo % yarn hardhat init输入命令后,选择“Create a JavaScript project”,然后一路回车
6、初始化成功后,会有默认文件出现,如图所示:

项目文件介绍
1、目录结构
hardhat-demo
├── README.md # 描述文件
├── contracts # 合约文件夹,用于存放合约
│   └── Lock.sol # 示例合约
├── hardhat.config.js # hardhat的配置文件
├── ignition # 脚本模块,主要用于封装各种部署脚本
│   └── modules
│       └── Lock.js
├── package.json # 依赖描述文件
├── test # 测试模块,主要用于封装各种测试脚本
│   └── Lock.js
└── yarn.lock
部署示例项目
1、输入部署命令,示例工程中已经编写好了部署脚本
yarn hardhat ignition deploy ignition/modules/Lock.js执行结果
(base) antony@AntonydeMini hardhat_lesson % yarn hardhat ignition deploy ignition/modules/Lock.js
yarn run v1.22.19
warning package.json: No license field
$ /Users/antony/workspace/vscodeProjects/hardhat_lesson/node_modules/.bin/hardhat ignition deploy ignition/modules/Lock.js
You are running Hardhat Ignition against an in-process instance of Hardhat Network.
This will execute the deployment, but the results will be lost.
You can use --network <network-name> to deploy to a different network.

Hardhat Ignition 🚀

Deploying [ LockModule ]

Batch #1
  Executed LockModule#Lock

[ LockModule ] successfully deployed 🚀

Deployed Addresses

LockModule#Lock - 0x5FbDB2315678afecb367f032d93F642f64180aa3
✨  Done in 2.00s.
上述的“0x5FbDB2315678afecb367f032d93F642f64180aa3”便是部署合约的地址,当然这仅仅是在本地的虚拟环境中
执行测试脚本
1、输入测试命令,示例工程中已经编写好了测试脚本
yarn hardhat test执行结果
(base) antony@AntonydeMini hardhat_lesson % yarn hardhat test
yarn run v1.22.19
warning package.json: No license field
$ /Users/antony/workspace/vscodeProjects/hardhat_lesson/node_modules/.bin/hardhat test

  Lock
    Deployment
      ✔ Should set the right unlockTime (401ms)
      ✔ Should set the right owner
      ✔ Should receive and store the funds to lock
      ✔ Should fail if the unlockTime is not in the future
    Withdrawals
      Validations
        ✔ Should revert with the right error if called too soon
        ✔ Should revert with the right error if called from another account
        ✔ Shouldn't fail if the unlockTime has arrived and the owner calls it
      Events
        ✔ Should emit an event on withdrawals
      Transfers
        ✔ Should transfer the funds to the owner

  9 passing (431ms)

✨  Done in 1.69s.
结尾
以上就是hardhat初始项目的体验全过程,后续将逐步为大家拆解"contracts/Lock.sol"、“ignition/modules/Lock.js”、“test/Lock.js”这三个文件,以便更好的理解,使用hardhat编写、编译、测试、部署合约的整个过程。
若过程有错误,还望海涵,请多指教。


本文参与登链社区写作激励计划 ,好文好收益,欢迎正在阅读的你也加入。


