Viem React 教程:如何转账、铸币和查看链状态
Viem React 手把手教程,如何使用查看链状态,发起交易。
- 原文链接:https://www.rareskills.io/post/viem-ethereum
- 译文出自:登链翻译计划
- 译者:翻译小组 校对:Tiny 熊
- 本文永久链接:learnblockchain.cn/article…
在本教程中,我们将使用 Viem TypeScript库和 React (Next.js) 构建一个功能齐全的 Dapp。我们将介绍连接钱包、转账加密货币、与智能合约交互(如铸造 NFT)和查询区块链的必要步骤。
Viem 是 Typescript 的实现,可替代现有的 web3.js 和 ethers.js 等低级以太坊接口。它支持浏览器原生支持的BigInt,并能自动从 ABI 和 EIP-712 中推断类型。它的打包大小为 35kb,采用tree-shakable 设计,以尽量减少最终包大小,测试覆盖率为 99.8%。请查看其基准和完整文档。
我们通过行内代码注释提供了简明的解释。只需复制粘贴代码并阅读注释即可。
下面是本教程的大纲:
- Viem 术语:Client | Transport | Chain
- 入门:使用 React + Viem 设置 Client & Transport
- 第 1 部分:使用 React + Viem 连接到 Web3 钱包
- 第 2 部分:使用 React + Viem 转账加密货币
- 第 3 部分:使用 React + Viem 铸造 NFT
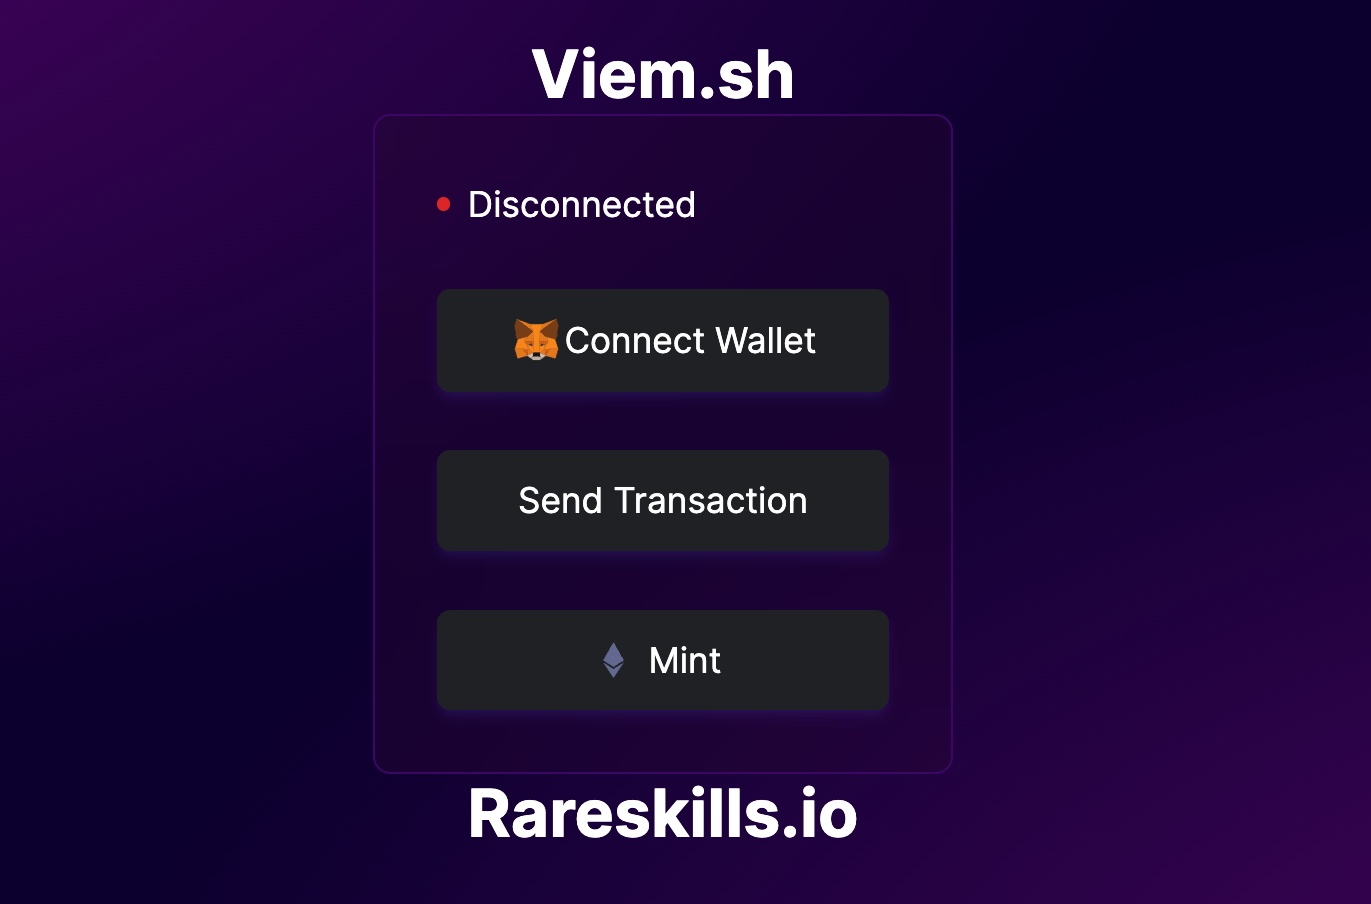
先展示构建的内容:
Viem 术语:Client | Transport | Chain
Viem 有三个基本概念:Client | Transport | Chain
-
viem 中的 Client 类似于 Ether.js Provider。它提供在以太坊上执行常见操作的TypeScript函数。根据操作的不同,它将属于三种类型的Client 之一。
-
Public Client是 "公共 "JSON RPC API 方法的接口,例如,检索区块编号、查询账户余额、访问智能合约上的 "视图" 函数,以及其他只读、不改变状态的操作。这些功能被称为公共操作。
-
Wallet Client是与以太坊账户交互的接口,例如发送交易、签署信息、请求地址、切换链以及需要用户许可的操作。例如,铸币 NFT 是改变状态的操作,因此需要在 Wallet Client 下完成。这些功能被称为钱包操作。
-
Test Client用于创建模拟交易进行测试。这通常用于单元测试。
-
(Transport) 与Client一起实例化,是执行请求的中间层。Transport有三种类型:
- HTTP Transport,利用 HTTP JSON-RPC;
- WebSocket Transport,通过 WebSocket JSON-RPC 进行实时连接;
- 自定义 Transport,通过 EIP-1193 请求方法处理请求;
- Fallback 允许你在列表中指定多个 Transport。如果其中一个 Transport 失败,它就会向下移动列表,以找到一个能正常运行的 Transport。稍后将提供一个示例。
-
Chain指用于建立连接的 EVM 兼容链,它们通过链对象(以链 id 标识)来识别。一个Client 只能实例化一个链。我们可以使用提供的 viem chain 库(如 polygon、eth mainnet),也可以手动创建自己的链。
Public Client
这就是如何声明一个 Public Client:
import { createPublicClient, http } from 'viem'
import { mainnet } from 'viem/chains'

const publicClient = createPublicClient({
  chain: mainnet,
  transport: http()
})
这就是如何使用Public Client 进行操作:
const balance = await publicClient.getBalance({
  address: '0xA0Cf798816D4b9b9866b5330EEa46a18382f251e',
})

const block = await publicClient.getBlockNumber()
这些是可用的公共操作:
- getChainId : 获取Chain ID
- getGasPrice : 获取Gas Price
- signMessage : 签署消息
- verifyMessage : 验证消息
- getTransactionReceipt :获取交易收据
- 更多关于公共操作的文档
Viem 有一项名为 "优化 Public Client "的功能,它支持eth_call Aggregation,可通过发送批量请求提高性能。这一点有非常详细的记录。
Wallet Client
这就是建立Wallet Client的方法:
import { createWalletClient, custom } from 'viem'
import { mainnet } from 'viem/chains'

const walletClient = createWalletClient({
    chain: mainnet,transport: custom(window.ethereum)
})
如何使用钱包Wallet Client的操作:
// Get's the user address
const [address] = await walletClient.getAddresses()

// Sends a transaction
const hash = await walletClient.sendTransaction({
    account: address,
    to: '0xa5cc3c03994DB5b0d9A5eEdD10CabaB0813678AC',
    value: parseEther('0.001')
})
可用的Wallet Client:
- requestAddresses ( 像 Metamask 这样的钱包可能需要用户先 requestAddresses )
- switchChain: 切换链
- signMessage : 签署消息
- getPermissions: 获取权限
- sendTransaction :发送交易
- 更多内容请参见钱包操作文档
我们将在本教程中演示如何使用sendTransaction和getAddresses。
可选方式
你可以使用公共操作**扩展Wallet Client。**这有助于你避免处理多个Client 。以下代码片段使用公共操作扩展了Wallet Client。
import { createWalletClient, http, publicActions } from 'viem'
import { mainnet } from 'viem/chains'

const extendedClient = createWalletClient({
  chain: mainnet,
  transport: http()
}).extend(publicActions)

// Public Action
const block = await extendedClient.getBlockNumber()
// Wallet Action
const [address] = await extendedClient.getAddresses();
Test Client
Test Client提供了一个接口,可通过本地测试节点(如 Anvil 或 Hardhat)进行覆盖账户、挖矿区块和冒充交易。我们不会对此进行详细讨论,但你可以在 Test Client文档 上阅读更多内容。
Transport
我们一次只能通过一种 Transport(传输)方式,我们将用它来连接到区块链的协议),以下是如何使用每种传输方式的示例。
HTTP
import { createPublicClient, http } from 'viem'
import { mainnet } from 'viem/chains'
const transport = http('https://eth-mainnet.g.alchemy.com/v2/...')

const client = createPublicClient({
  chain: mainnet,
  transport,
})
如果未提供 url,Transport 系统将退回到公共 RPC URL。建议传递经过验证的 RPC URL,以尽量减少速率限制问题。
WebSocket
import { createPublicClient, webSocket } from 'viem'
import { mainnet } from 'viem/chains'

const transport = webSocket('wss://eth-mainnet.g.alchemy.com/v2/...')
const client = createPublicClient({
  chain: mainnet,
  transport,
})
由于上述同样原因,Transport 将退回到公共 RPC URL。
注意 在上述两个示例中,Transport 是由通过指定 URL 类型定义的。第一个 URL 是 HTTPS URL,第二个是 WSS URL。
自定义(EIP-1193)(我们使用的)
此Transport方式用于集成提供 EIP-1193 提供者的注入钱包,如 WalletConnect、Coinbase SDK 和 Metamask。
import { createWalletClient, custom } from 'viem'
import { mainnet } from 'viem/chains'

const client = createWalletClient({
  chain: mainnet,
  transport: custom(window.ethereum)
})
Fallback
此transport 会接收多个transport。如果一个传输方式失败,它将采用下一个方式。在下面的示例中,如果 Alchemy 失败,它将退到 Infura 。
import { createPublicClient, fallback, http } from 'viem'
import { mainnet } from 'viem/chains'

const alchemy = http('https://eth-mainnet.g.alchemy.com/v2/...')

const infura = http('https://mainnet.infura.io/v3/...')

const client = createPublicClient({
  chain: mainnet,
  transport: fallback([alchemy, infura]),
})
Chains
Viem 通过 viem/chains 库提供了流行的 EVM 兼容链,如 Polygon、Optimism、Avalanche 等:Polygon、Optimism、Avalanche 等,请参见 Viem Chains Documentation。
你可以通过作为参数传递来切换链,例如 polygonMumbai。
import { createPublicClient, http } from 'viem'
import { polygonMumbai } from 'viem/chains'

const client = createPublicClient({
    chain: polygonMumbai,
    transport: http(),
})
你还可以创建自己的链对象,该对象继承了链类型(参考资料:Viem.sh):Viem.sh)
import { Chain } from 'viem'

export const avalanche = {
    id: 43_114,
    name: 'Avalanche',
    network: 'avalanche',
    nativeCurrency: {
        decimals: 18,
        name: 'Avalanche',
        symbol: 'AVAX',
    },
    rpcUrls: {
        public: {
            http: ['https://api.avax.network/ext/bc/C/rpc']
        },
        default: {
            http: ['https://api.avax.network/ext/bc/C/rpc']
        },
    },
    blockExplorers: {
        etherscan: {
            name: 'SnowTrace',
            url: 'https://snowtrace.io'
        },
            default: {
                name: 'SnowTrace',
                url: 'https://snowtrace.io'
            },
        },
        contracts: {multicall3: {
            address: '0xca11bde05977b3631167028862be2a173976ca11',
            blockCreated: 11_907_934,
        },
    },
} as const satisfies Chain
请记住,一个 Client 一次只能分配一个链。
入门:使用 React + Viem 设置 Client 和 Transport
为简单起见,我们建议使用 polygonMumbai 或 Sepolia 作为测试网络。
第 1 步:创建 Next.js 项目并安装 Viem
首先用以下命令创建Next.js项目
npx create-next-app@latest myapp
选中以下选项 [是]:
- Typescript
- ESLint
- Tailwind
- App Router(最好是)
在 vscode 中打开你的项目。
使用以下命令安装 viem:
npm i viem
pnpm i viem
yarn add viem
第 2 步:设置Client 和 Transport
在应用程序目录下创建两个新文件:
- client.ts
- walletButton.tsx
你的应用程序目录应该是这样的
app
├── client.ts
├── globals.css
├── layout.tsx
├── page.tsx
└── walletButton.tsx
Client.ts
我们将在一个单独的 typescript 文件中初始化 Client 和 Transport 。将以下代码复制粘贴到 client.ts 中。
// client.ts
import { createWalletClient, createPublicClient, custom, http } from "viem";
import { polygonMumbai, mainnet } from "viem/chains";
import "viem/window";

// Instantiate Public Client
const publicClient = createPublicClient({
  chain: mainnet,
  transport: http(),
});

// Instantiate Wallet Client
const walletClient = createWalletClient({
    chain: polygonMumbai,
    transport: custom(window.ethereum),
});
这将不可避免地产生一个类型错误,window.ethereum 可能是未定义的,因为某些浏览器(如 safari)不支持 window.ethereum 对象。
我们可以通过检查 window.ethereum 是否存在或未定义来处理该错误。
// client.ts

import { createWalletClient, createPublicClient, custom, http } from "viem";
import { polygonMumbai } from "viem/chains";
import "viem/window";

export function ConnectWalletClient() {
    // Check for window.ethereum
    let transport;
    if (window.ethereum) {
        transport = custom(window.ethereum);
    } else {
        const errorMessage ="MetaMask or another web3 wallet is not installed. Please install one to proceed.";
        throw new Error(errorMessage);
    }

    // Delcalre a Wallet Client
    const walletClient = createWalletClient({
        chain: polygonMumbai,
        transport: transport,
    });

    return walletClient;
}

export function ConnectPublicClient() {
    // Check for window.ethereum
    let transport;
    if (window.ethereum) {
        transport = custom(window.ethereum);
    } else {
        const errorMessage ="MetaMask or another web3 wallet is not installed. Please install one to proceed.";
        throw new Error(errorMessage);
    }

    // Delcare a Public Client
    const publicClient = createPublicClient({
        chain: polygonMumbai,
        transport: transport,
    });

    return publicClient;
}
这样,你仍然可以在不支持 window.ethereum 的浏览器中打开网站。
建议保持 walletClient 和 publicClient 的链一致,否则可能会出现链不兼容的错误。
Part 1:使用 React + Viem 连接到 Web3 钱包
本部分演示 viem Client 如何连接 Web3 钱包。
第 2 步:创建一个连接 Web3 钱包的按钮
walletButton.tsx
现在我们将创建一个Client 组件,处理与 web3 钱包的连接逻辑。
该按钮将实例化一个 walletClient 并请求用户的钱包地址,如果钱包尚未连接,它将提示用户连接,最后输出地址。
这里有很多代码,但重点是 handleClick() 函数。
// walletButton.tsx
"use client";
import { useState } from "react";
import { ConnectWalletClient, ConnectPublicClient } from "./client";

export default function WalletButton() {
    //State variables for address & balance
    const [address, setAddress] = useState<string | null>(null);
    const [balance, setBalance] = useState<BigInt>(BigInt(0));
    // Function requests connection and retrieves the address of wallet
    // Then it retrievies the balance of the address
    // Finally it updates the value for address & balance variable
    async function handleClick() {
        try {
            // Instantiate a Wallet & Public Client
            const walletClient = ConnectWalletClient();
            const publicClient = ConnectPublicClient();

            // Performs Wallet Action to retrieve wallet address
            const [address] = await walletClient.getAddresses();

            // Performs Public Action to retrieve address balance
            const balance = await publicClient.getBalance({ address });
            // Update values for address & balance state variable
            setAddress(address);
            setBalance(balance);
        } catch (error) {
            // Error handling
            alert(`Transaction failed: ${error}`);
        }
    }
// Unimportant Section Below / Nice to Have UI
    return (
        <>
            <Status address={address} balance={balance} />
            <button className="px-8 py-2 rounded-md bg-[#1e2124] flex flex-row items-center justify-center border border-[#1e2124] hover:border hover:border-indigo-600 shadow-md shadow-indigo-500/10"
             onClick={handleClick}
            >
            <img     src="https://upload.wikimedia.org/wikipedia/commons/3/36/MetaMask_Fox.svg" alt="MetaMask Fox" style={{ width: "25px", height: "25px" }} />
            <h1 className="mx-auto">Connect Wallet</h1>
            </button></>);}

// Displays the wallet address once it’s successfuly connected
// You do not have to read it, it's just frontend stuff

function Status({
  address,
  balance,}: {
  address: string | null;
  balance: BigInt;
}) {
    if (!address) {
        return (
            <div className="flex items-center">
                <div className="border bg-red-600 border-red-600 rounded-full w-1.5 h-1.5 mr-2">
                </div>
                <div>Disconnected</div>
            </div>);
    }
    return (
        <div className="flex items-center w-full">
            <div className="border bg-green-500 border-green-500 rounded-full w-1.5 h-1.5 mr-2"></div>
            <div className="text-xs md:text-xs">{address} <br /> Balance: {balance.toString()}</div>
            </div>
    );
}
第 3 步:插入 walletButton 组件
page.tsx
剩下的就是设计主页面和导入 WalletButton 组件了。我们已经注释了一些你稍后要添加的代码。
import WalletButton from "./walletButton";
// import MintButton from "./mintButton";
// import SendButton from "./sendButton";

export default function Home() {
      return (
            <main className="min-h-screen">
                  <div className="flex flex-col items-center justify-center h-screen ">
                        <a href="https://rareskills.io" target="_blank" className="text-white font-bold text-3xl hover:text-[#0044CC]" > Viem.sh </a>
                        <div className="h-[300px] min-w-[150px] flex flex-col justify-between  backdrop-blur-2xl bg-[#290330]/30 rounded-lg mx-auto p-7 text-white border border-purple-950">
                              <WalletButton />
                              {/* <SendButton />
                              <MintButton /> */}
                        </div>
                        <a href="https://rareskills.io" target="_blank" className="text-white font-bold text-3xl hover:text-[#0044CC]" > Rareskills.io </a>
                 </div>
            </main>
      );
}
globals.css
一些漂亮的用户界面背景,用下面的代码替换 globals.css 。
@tailwind base;@tailwind components;@tailwind utilities;

body {
  background-color: #0c002e;
  background-image: radial-gradient(
      at 100% 100%,rgb(84, 2, 103) 0px,
      transparent 50%),
    radial-gradient(at 0% 0%, rgb(97, 0, 118) 0px, transparent 50%);}
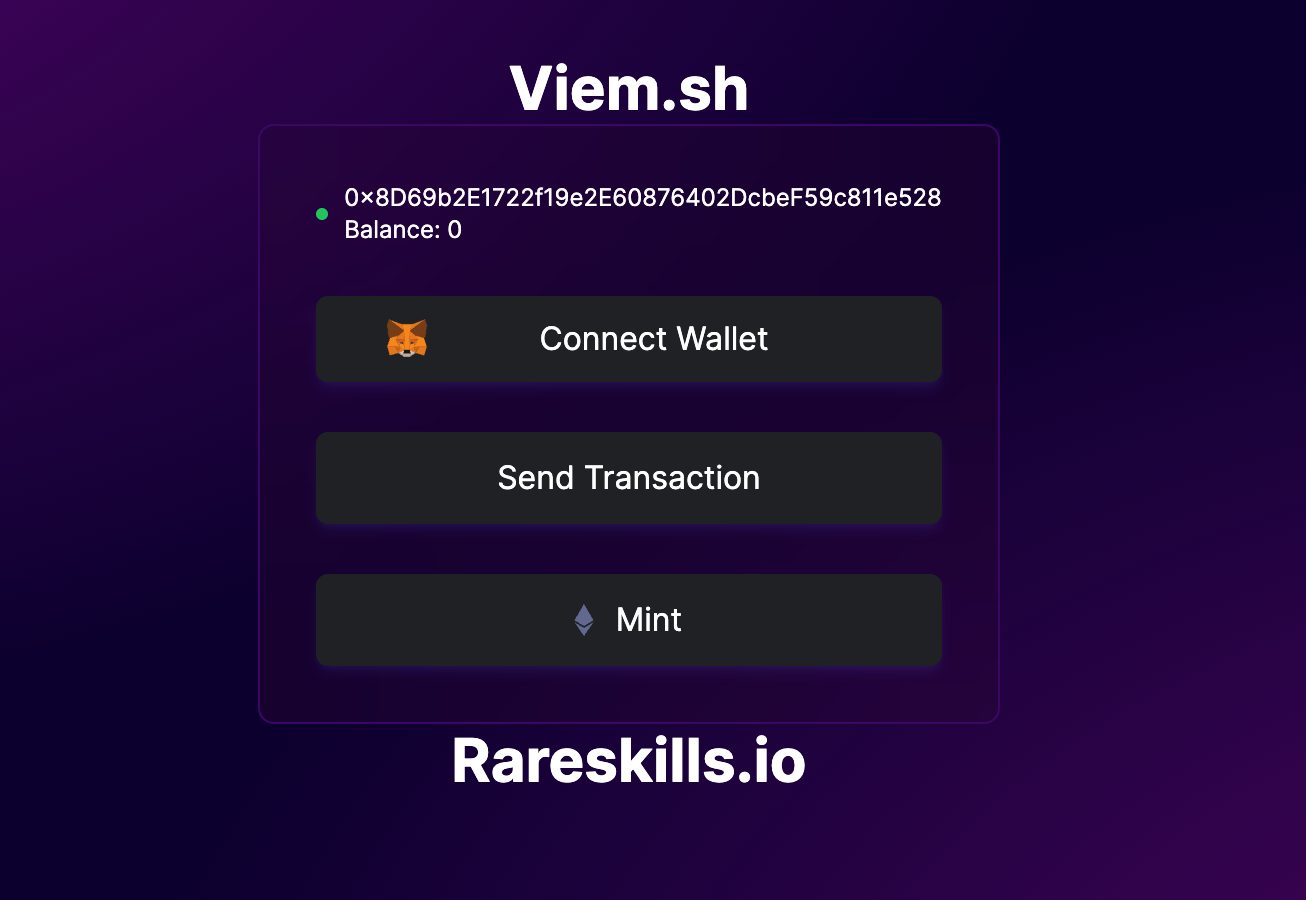
第 4 步:运行网站并进行测试
点击按钮后,它将启动与你钱包的连接。一旦你授权,它就会变成这样:
npm run dev
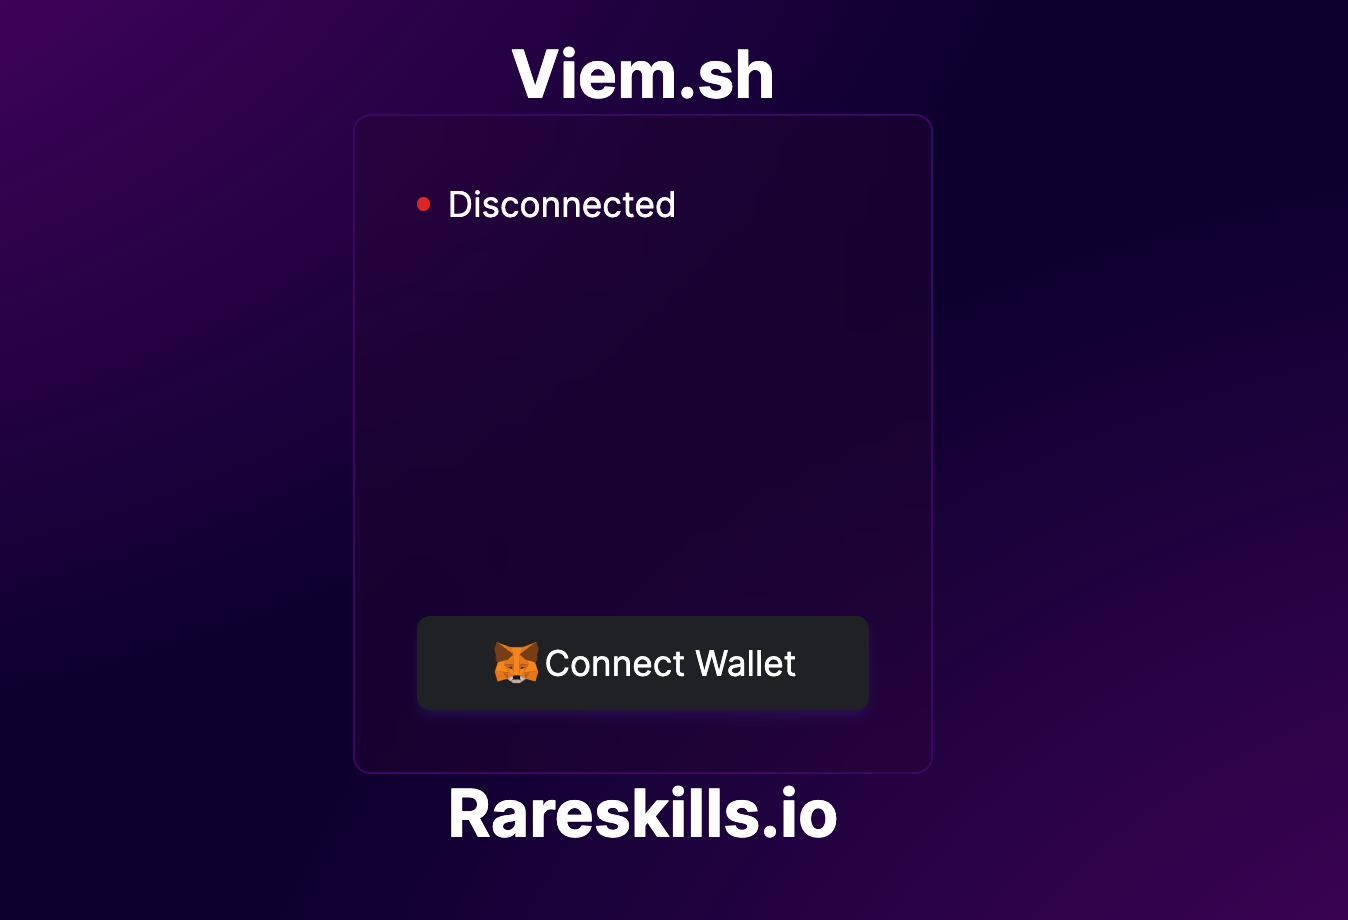
点击按钮后,将显示以下内容:

第二部分:使用 React + Viem 转账加密信息
现在我们的钱包已经连接好了,可以开始转账加密货币了。我们将使用 sendTransaction 钱包操作。
- 从 Matic Faucet 获取一些 Matic。
第 5 步:添加加密货币转账功能
在应用程序目录中创建一个新的 tsx 文件 sendButton.tsx
app
├── client.ts
├── globals.css
├── layout.tsx
├── page.tsx
├── sendButton.tsx
└── walletButton.tsx
sendButton.tsx
我们将创建一个启动 sendTransaction 动作的按钮。Viem 可以让我们非常简单地做到这一点。逻辑流程应类似于 walletButton.tsx,实例化 walletClient 并执行 Wallet Client 操作。
"use client";
import { parseEther } from "viem";
import { ConnectWalletClient} from "./client";

export default function SendButton() {
     //Send Transaction Function
     async function handleClick() {
        try {
           // Declare wallet client
           const walletClient = ConnectWalletClient();
           // Get the main wallet address
           const [address] = await walletClient.getAddresses();
           // sendTransaction is a Wallet action.
           // It returns the transaction hash
           // requires 3 parameters  to transfer cryptocurrency,
           // account, to and value
           const hash = await walletClient.sendTransaction({
              account: address,
              to: "Account_Address",
              value: parseEther("0.001"), // send 0.001 matic
            });
            // Display the transaction hash in an alert
            alert(`Transaction successful. Transaction Hash: ${hash}`);
         } catch (error) {
              // Handle Error
              alert(`Transaction failed: ${error}`);
         }
     }

     return (
        <button
            className="py-2.5 px-2 rounded-md bg-[#1e2124] flex flex-row items-center justify-center border border-[#1e2124] hover:border hover:border-indigo-600 shadow-md shadow-indigo-500/10"
            onClick={handleClick}>
            Send Transaction
       </button>
    );
}
第 6 步:加入 sendButton 组件
page.tsx
取消与 sendButton 组件有关的注释。
import WalletButton from "./walletButton";
import SendButton from "./sendButton";
// import MintButton from "./mintButton";

export default function Home() {

    return (
        <main className="min-h-screen">
            <div className="flex flex-col items-center justify-center h-screen ">
                <a href="https://rareskills.io" target="_blank" className="text-white font-bold text-3xl hover:text-[#0044CC]" > Viem.sh </a>
                <div className="h-[300px] min-w-[150px] flex flex-col justify-between  backdrop-blur-2xl bg-[#290330]/30 rounded-lg mx-auto p-7 text-white border border-purple-950">
                    <WalletButton />
                    <SendButton />
                    {/* <MintButton /> */}
                </div>
                <a href="https://rareskills.io" target="_blank" className="text-white font-bold text-3xl hover:text-[#0044CC]" > Rareskills.io </a>
            </div>
        </main>
    );
}
你的浏览器现在应该是这样的

第三部分:使用 React + Viem 创建一个 NFT
本部分将讨论如何与智能合约交互,并通过一个 NFT 铸币实例进行说明。
要与智能合约交互,我们需要两样东西:
- 合约地址
- 合约 ABI
在这个例子中,我们将用 Rareskill 的合约来演示,该合约有一个mint功能,除了跟踪你的mint次数外,它什么也不做。
- Rareskill 的合约地址:0x7E6Ddd9dC419ee2F10eeAa8cBB72C215B9Eb5E23
- Rareskill的合约ABI
请使用你自己的合约。
第 7 步:添加与智能合约交互的功能
创建两个新文件 abi.ts 和 mintButton.tsx
app
├── abi.ts
├── client.ts
├── globals.css
├── layout.tsx
├── mintButton.tsx
├── page.tsx
├── sendButton.tsx
└── walletButton.tsx
abi.ts
复制粘贴 Rareskill 的合约 ABI 或你自己的 ABI。
// abi.ts
export const wagmiAbi = [...contract abi...] as const;
请务必严格遵守此格式,不要忘记结尾处的 "as const; "。
合约实例和合约操作方法
合约实例方法
//Contract Instance
const contract = getContract({
  address: "0x7E6Ddd9dC419ee2F10eeAa8cBB72C215B9Eb5E23",
  abi: wagmiAbi,
  publicClient,
  walletClient,
});
getContract 函数创建我们的合约实例 contract。创建后,我们就可以调用合约方法、监听事件等。这是一种更简单的方法,因为我们不必重复传递 address 和 abi 属性来执行合约操作。
参数:
- 地址
- abi
- Public Client(可选)
- Wallet Client(可选)
我们必须传递地址和 abi 参数。传递 publicClient 和 walletClient 是可选的,但它允许我们根据Client 类型访问一组合约方法。
Public Client的可用合约方法:
walletClient 可用的合约方法:
一般来说,调用合约实例方法的格式如下:
// function
contract.(estimateGas|read|simulate|write).(functionName)(args, options)

// event
contract.(createEventFilter|watchEvent).(eventName)(args, options)
使用合约实例调用合约方法
// Read Contract symbol
const symbol = await contract.read.symbol();

// Read Contract name
const name = await contract.read.name();

// Call mint method
const result = await contract.write.mint({account: address});
上面的示例通过 contract 实例调用了读写合约方法。如果使用 Type-script,它会自动补全可用合约方法的建议。
**read.symbol()和read.name()**很简单。另一方面,写入函数
const result = await contract.write.mint({account: address});
将 {account: address} 作为必选参数,其他参数均为可选参数。如果你不知道该添加哪些参数,请将鼠标悬停在 "mint() "关键字上,VS 代码会提示你。
繁琐的合约操作方法
上节代码是下文的语法糖。我们包含这一部分是为了向你展示在底层发生了什么。
这段代码将获取合约的总发行量(totalSupply):
const totalSupply = await publicClient.readContract({
    address: '0x7E6Ddd9dC419ee2F10eeAa8cBB72C215B9Eb5E23',
    abi: wagmiAbi,
    functionName: 'totalSupply',
})
很麻烦吧?你必须反复传递地址和 abi。
这相当于在上面的示例中使用 Contract Action 方法调用 mint 函数。成功后,它将返回交易哈希值。
const hash = await walletClient.writeContract({
	address: "0x7E6Ddd9dC419ee2F10eeAa8cBB72C215B9Eb5E23",
	abi: wagmiAbi,
	functionName: "mint",
	account,
});
要保持最小的包大小,请使用 Contract Action;虽然 Contract instance 提供了更多的功能,但它会增加内存使用量。
mintButton.tsx
为了演示状态更改交易,我们将创建一个按钮,调用智能合约的mint函数,并查询它的名称、符号和总发行量。
我们利用合约实例和合约操作方法来展示它是如何实现的。
"use client";
import { formatEther, getContract } from "viem";
import { wagmiAbi } from "./abi";
import { ConnectWalletClient, ConnectPublicClient } from "./client";

export default function MintButton() {

  // Function to Interact With Smart Contract
  async function handleClick() {

    // Declare Client
    const walletClient = ConnectWalletClient();
    const publicClient = ConnectPublicClient();

    // Create a Contract Instance
    // Pass publicClient to perform Public Client Contract Methods
    // Pass walletClient to perform Wallet Client Contract Methods
    const contract = getContract({
      address: "0x7E6Ddd9dC419ee2F10eeAa8cBB72C215B9Eb5E23",
      abi: wagmiAbi,
      publicClient,
      walletClient,
    });

    // 通过合约实例读取状态
    const symbol = await contract.read.symbol();

    // 通过合约实例读取状态
    const name = await contract.read.name();

    // 通过合约Action 读取状态
    const totalSupply = await publicClient.readContract({
      address: '0x7E6Ddd9dC419ee2F10eeAa8cBB72C215B9Eb5E23',
      abi: wagmiAbi,
      functionName: 'totalSupply',
    })

    // Format ether converts BigInt(Wei) to String(Ether)
    const totalSupplyInEther = formatEther(totalSupply);

    alert(`Symbol: ${symbol}\nName: ${name}\ntotalSupply: ${totalSupplyInEther}`);

    try {
      // Declare Wallet Client and Retrieve wallet address
      const client = walletClient;
      const [address] = await client.getAddresses();

      // Writes the state-changin function mint via Contract Instance method.
      const result = await contract.write.mint({
        account: address
      });

      alert(`${result} ${name}`);
    } catch (error) {
      // Handle any errors that occur during the transaction
      alert(`Transaction failed: ${error}`);
    }}

    return (
      <>
        <button
          className="py-2.5 px-2 rounded-md bg-[#1e2124] flex flex-row items-center justify-center border border-[#1e2124] hover:border hover:border-indigo-600 shadow-md shadow-indigo-500/10"
          onClick={handleClick}>
          <svg
            className="w-4 h-4 mr-2 -ml-1 text-[#626890]"
            aria-hidden="true"
            focusable="false"
            data-prefix="fab"
            data-icon="ethereum"
            role="img"
            xmlns="http://www.w3.org/2000/svg"
            viewBox="0 0 320 512">
            <path
              fill="currentColor"
              d="M311.9 260.8L160 353.6 8 260.8 160 0l151.9 260.8zM160 383.4L8 290.6 160 512l152-221.4-152 92.8z">
            </path>
          </svg>
          <h1 className="text-center">Mint</h1>
        </button>
      </>
    );
}
恭喜你完成了本教程!你的最终产品应该是这样的
本翻译由 DeCert.me 协助支持, 来DeCert码一个未来, 支持每一位开发者构建自己的可信履历。
 GitHub 登录
 Web3 钱包登录
